Renewable Energy DIY: Home Solar and Wind Power Setups in 2025
Introduction
In 2025, as energy prices fluctuate and climate concerns intensify, more homeowners are turning to DIY renewable energy solutions to gain independence and reduce their carbon footprint. Home solar and wind power setups offer accessible ways to harness clean energy, with advancements in affordable kits and tools making it easier than ever for beginners. Whether you're aiming for a full off-grid system or a grid-tied supplement, these projects can slash electricity bills by up to 50% and qualify for substantial incentives.
This guide provides step-by-step instructions for solar and wind installations, component breakdowns, cost estimates, safety tips, and insights into 2025's incentives. Drawing from expert resources and real-world examples, we'll empower you to build a sustainable energy future from your backyard.
Why Choose DIY Renewable Energy in 2025?
DIY renewable setups democratize clean energy, bypassing high installation fees that can exceed $20,000 for professional solar systems. In 2025, falling panel prices—down 15% year-over-year—and improved battery tech make entry barriers low, with starter kits under $1,000. Benefits include energy resilience during outages, environmental impact reduction (solar offsets 100,000 lbs of CO₂ annually per home), and potential ROI in 5-7 years. Wind complements solar in windy regions, providing power when the sun sets. However, success hinges on site assessment: solar needs 4-6 hours of direct sun, while wind requires average speeds over 10 mph. With federal incentives like the 30% Residential Clean Energy Credit extending through 2032, now's the ideal time to start.
DIY Home Solar Power Setup: Step-by-Step Guidee
Building a DIY solar system involves planning, sourcing, and safe installation. We'll focus on a basic 1-2 kW off-grid setup powering essentials like lights and appliances.
Step 1: Assess Your Energy Needs
Calculate daily consumption using bills or apps—the average U.S. home uses 30 kWh/day, but start with 5-10 kWh for DIY. Factor in location: Use NREL's PVWatts tool for sunlight estimates.
Step 2: Select Components
- Solar Panels: 400W monocrystalline panels (4-5 for 2 kW) cost $200-300 each.
- Charge Controller: MPPT type, such as the Victron 100/50, is recommended for efficiency and costs between $150 and $250.atteries: Lithium-ion (e.g., 100Ah 12V Battle Born) for 5-10 kWh storage, $800-1,500.
- The inverter, which is a 2000W pure sine wave model (e.g., Renogy), converts DC to AC and costs between $300 and $500.iring and Mounts: MC4 connectors, rails ($100-200 total).
Total cost: $2,000-4,000 for a starter system.
Sketch the layout using free software like PVsyst. You can source from EcoFlow or Amazon for kits. For grid-tie, ensure UL-listed components for rebates.
Step 4: Installation: Mount panels on a south-facing roof or ground. racks—secure with torque wrench.
- Connect the panels in series or parallel to the controller, then connect the controller to the batteries, and finally connect the batteries to the inverter.
- Ground everything to prevent shocks.
Step 5: Testing and Maintenance
Use apps like SolarAssistant to monitor and clean. panels quarterly; expect a 25-year lifespan. Common pitfalls: Undersizing batteries or ignoring shading—use tools like Will Prowse's YouTube for troubleshooting.

DIY Home Wind Power Setup: Step-by-Step Guide
Wind Turbines are suitable for breezy areas, such as coastal or rural locations. small 1-5 kW system pairs well with solar for hybrid reliability.
Step 1: Site Evaluation
Measure wind speeds with anemometers (aim for a 12 mph average). Check zoning—towers up to 65 ft often need permits.
Step 2: Choose Components
- Turbine: 1 kW horizontal axis (e.g., Automaxx) for $500-1,000.
- Tower: Guyed 30-50 ft pole ($300-600).
- Controller and Inverter: Dump load for excess, $200-400.
- Batteries: Same as solar, for storage
Total: $1,500-3,000.
Step 3: Assembly
If you are DIY-ing, build blades from PVC; otherwise, buy kits. Attach the gearbox and generator to the nacelle.
Step 4: Erection and Wiring
Pour concrete foundation; raise tower with winch. Run the wire down to the controller, and then connect it to the batteries and inverter. Include furling for high winds.
Step 5: Commissioning
Test yaw mechanism; monitor output. We conduct annual inspections for blades. Challenges: Noise (under 40 dB) and bird safety—opt for vertical axis designs.
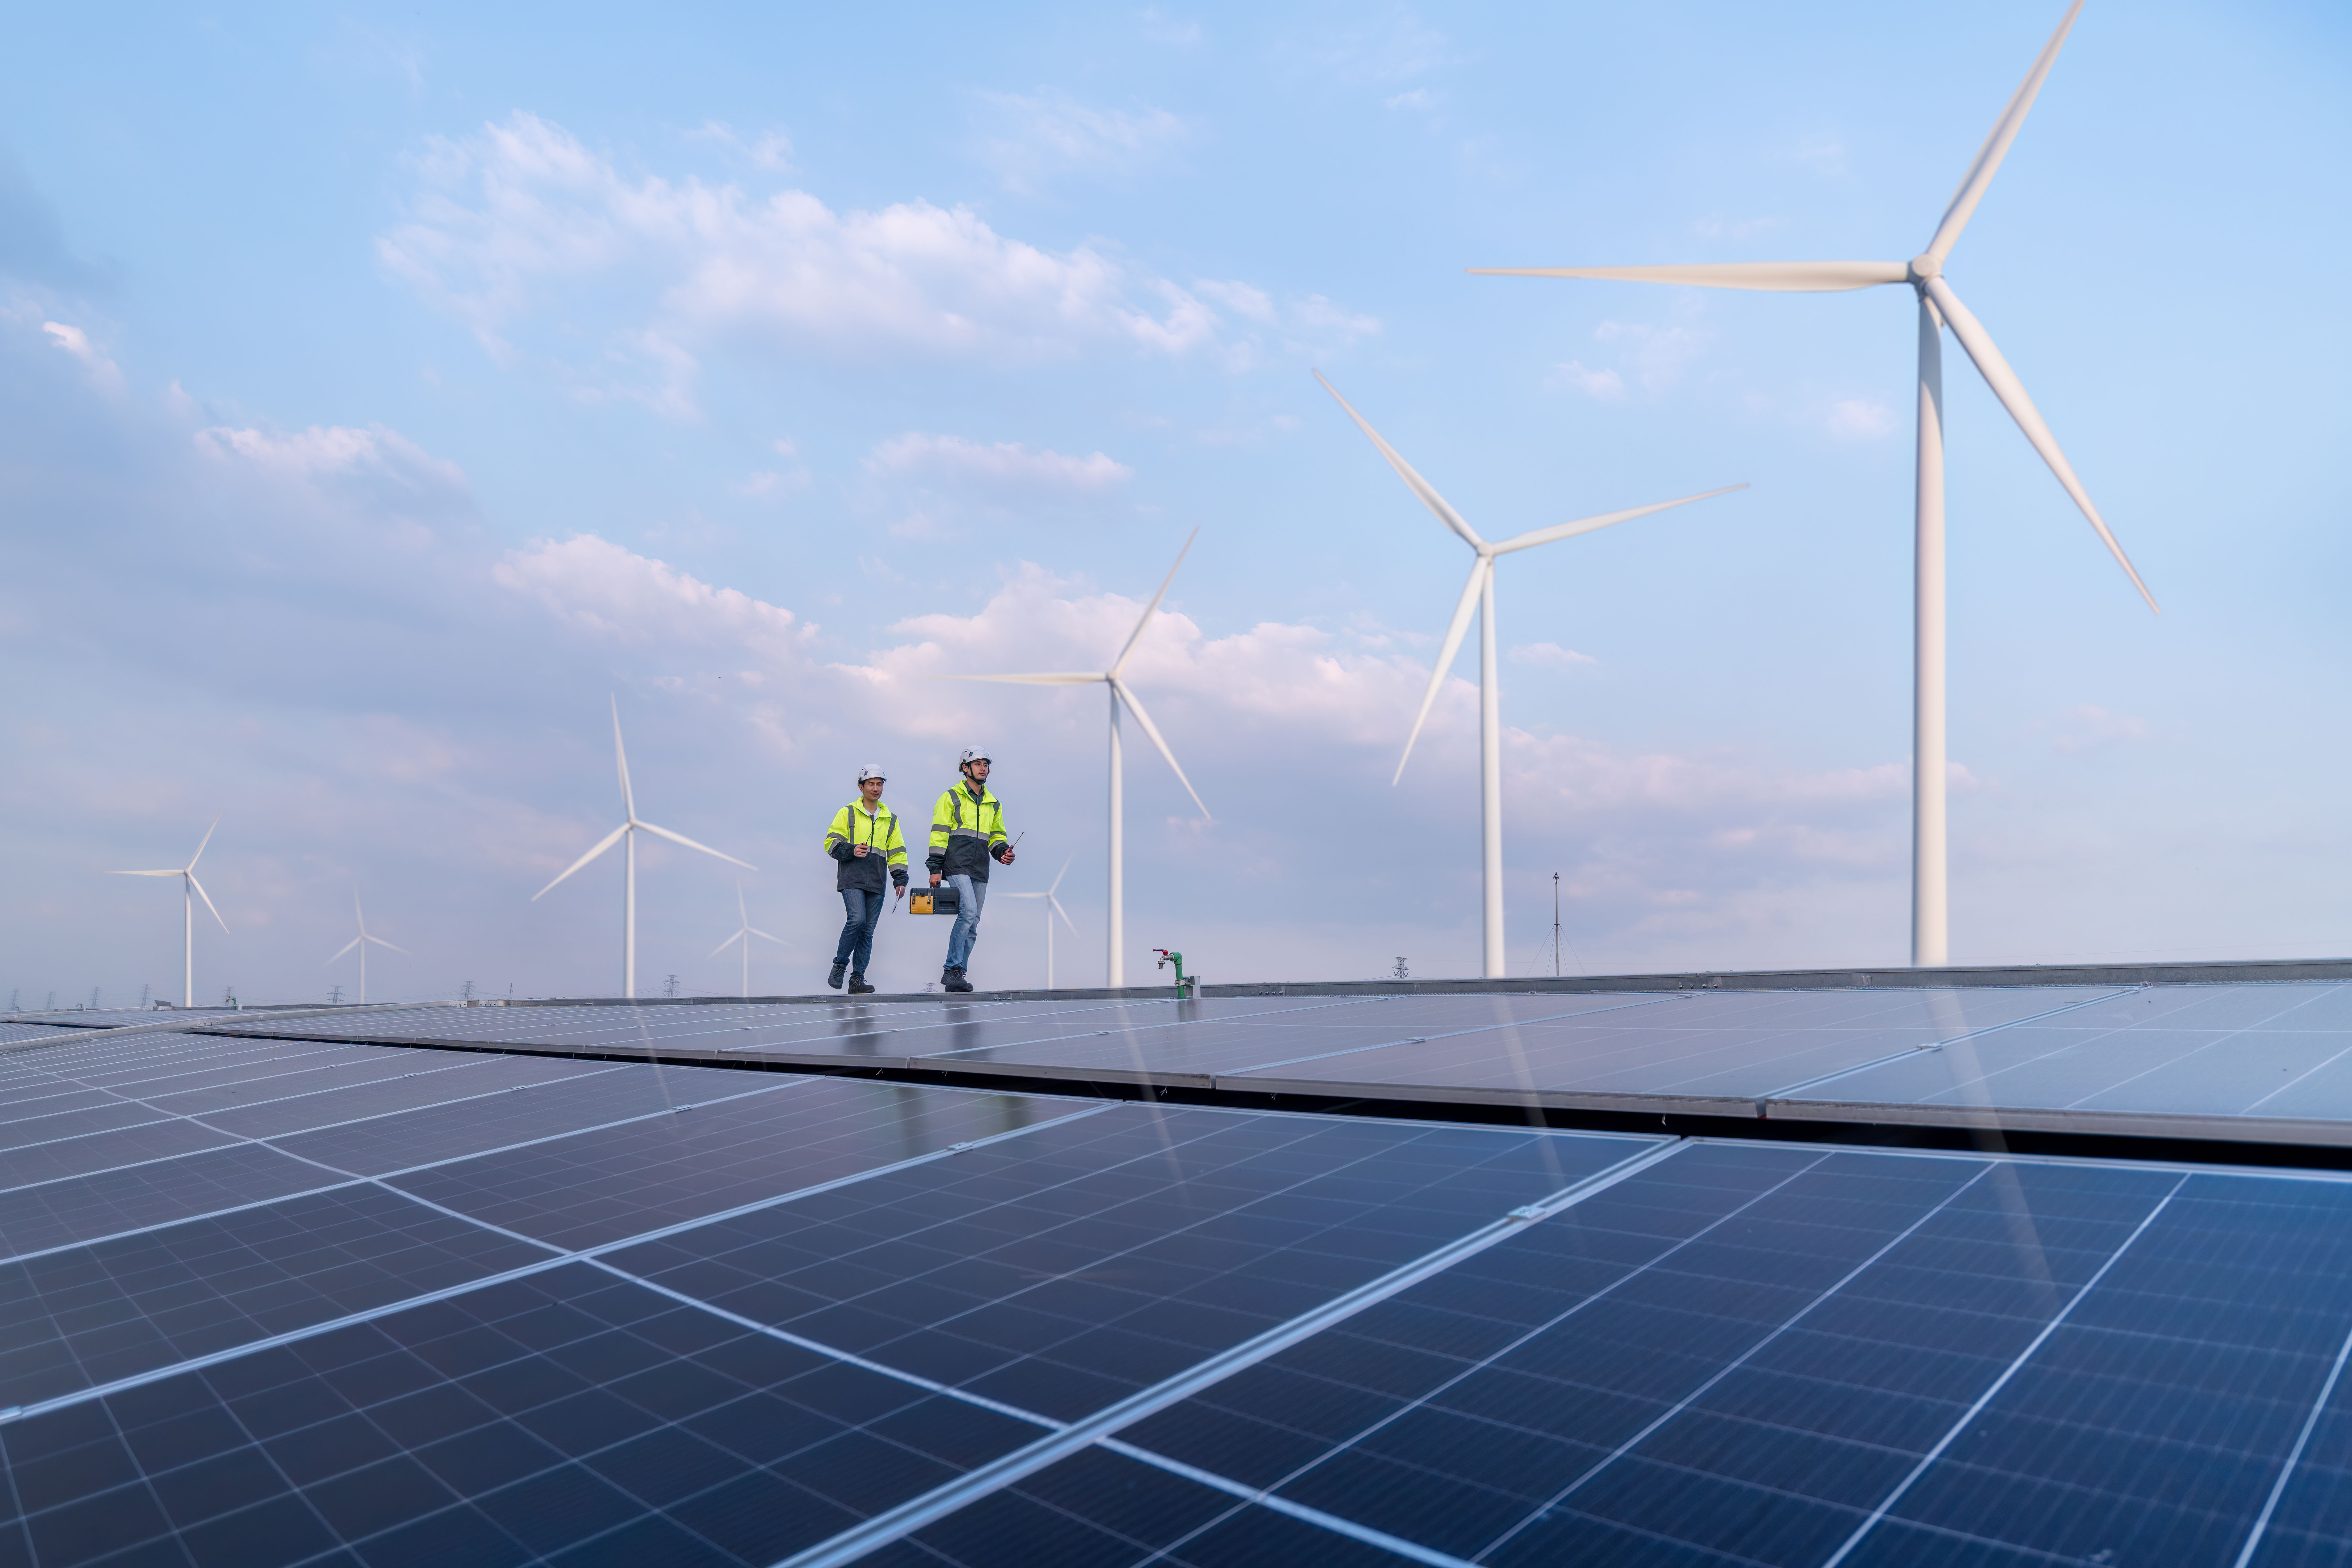
Hybrid Solar-Wind Systems: Maximizing Efficiency
Combine for 24/7 power: solar daytime, wind evenings. Use shared batteries and controllers ($500 extra). In 2025, smart hybrids with AI optimization boost output 20%.
2025 Incentives and Financials
The IRA's 30% credit covers solar/wind through 2032, up to $3,200 for efficiency upgrades. State rebates (e.g., California's SGIP for batteries) add $1,000-5,000. Payback: 4–8 years, with net metering selling the excess. Note: Some credits phase out post-2025 under policy shifts.
Safety and Legal Considerations
Permits vary—solar is often DIY-friendly, and wind may need engineering stamps. Wear PPE; hire electricians for grid-tie. Insure against failures.
Maintenance and Troubleshooting
Quarterly checks: Clean panels, lubricate turbines. Apps track performance; common fixes include fuse replacements.
Challenges and Solutions
Upfront costs: Finance via loans at 0% interest. Weather variability: Oversize systems 20%.
Future of DIY Renewables
By 2030, printable panels and micro-wind tech will cut costs further. Community solar gardens expand access.
Conclusion
DIY home solar and wind setups in 2025 empower sustainable living, blending affordability with impact. Start small, leverage incentives, and scale up—your energy journey begins today.