Astrophotography Tutorials: Gear Reviews and Tips for Capturing Night Skies
Introduction to Astrophotography
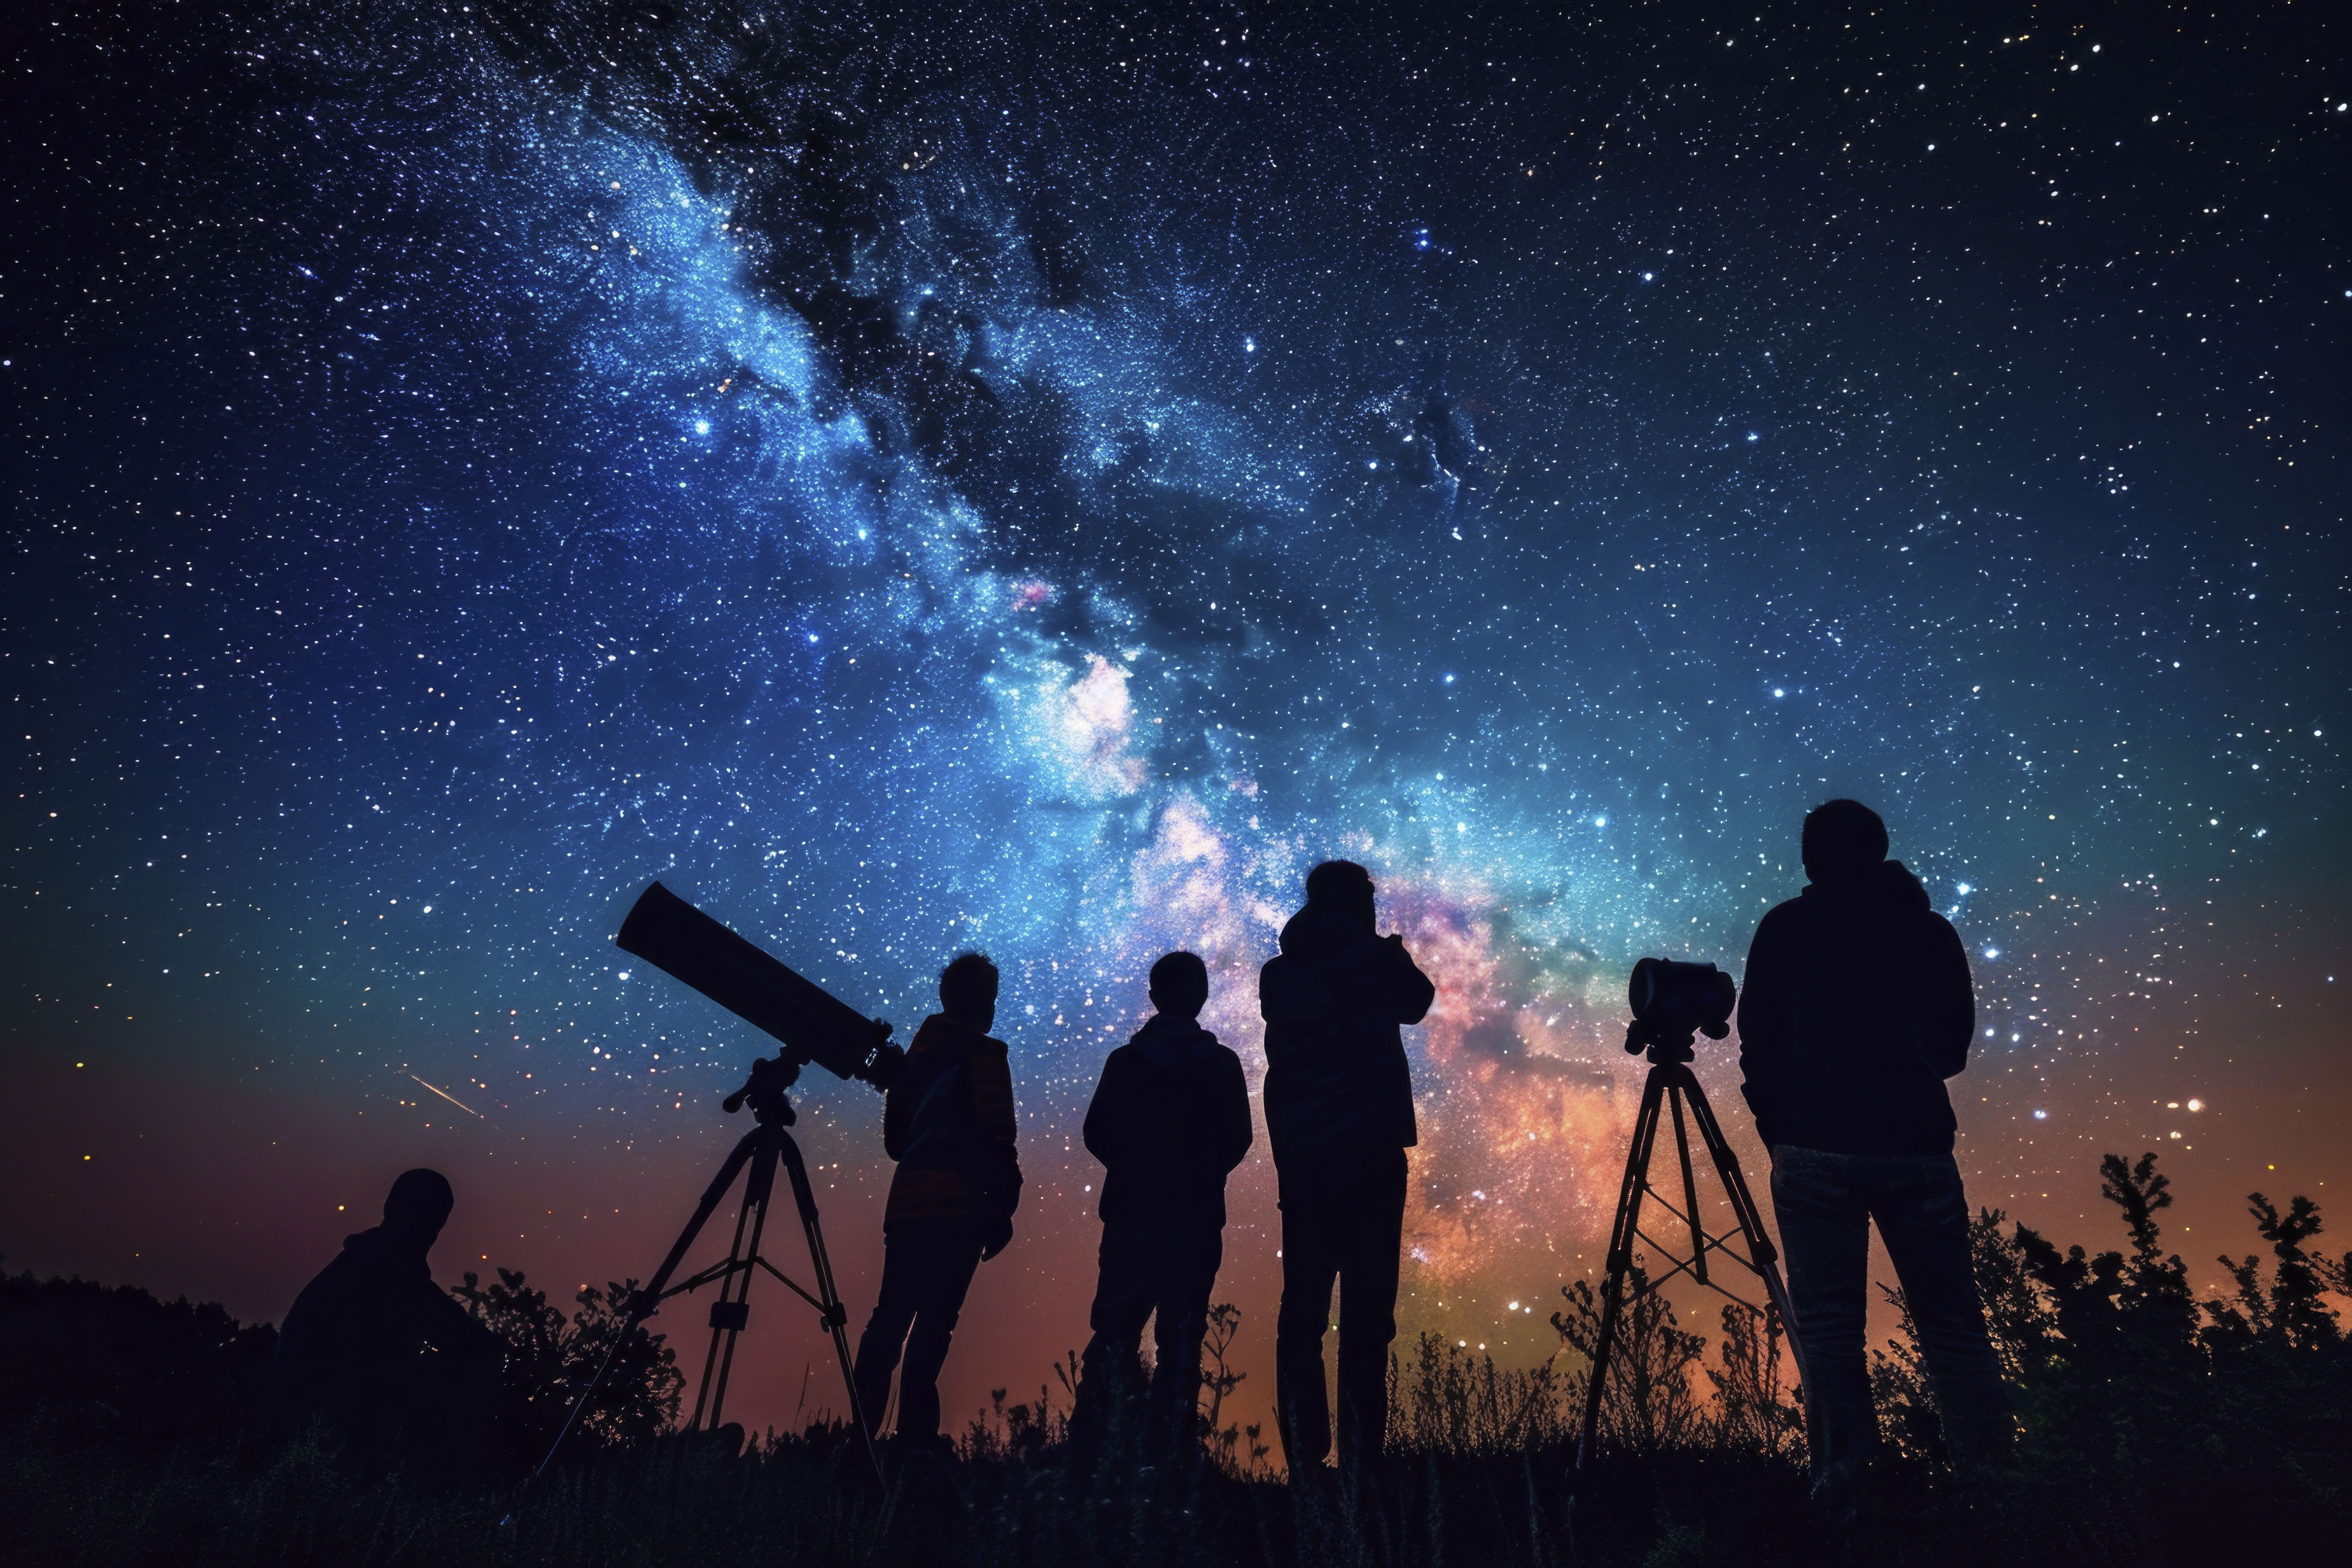
Astrophotography transforms the night sky into stunning images, capturing stars, the Milky Way, and deep-sky objects like nebulae. With over 100 billion stars in our galaxy, this hobby blends physics, creativity, and patience. This guide offers gear reviews, camera settings, and practical tips for beginners and enthusiasts to photograph the cosmos, drawing from expert sources like Space.com and AstroBackyard.
Why Astrophotography?
- Accessibility: Start with basic gear (e.g., DSLR, tripod) from your backyard or a dark site.
- Affordability: Entry-level setups cost $200–$1,000; smartphones can even work.
- Learning: Teaches optics, long-exposure photography, and celestial navigation.
- Wow Factor: Images of the Milky Way or Orion Nebula inspire awe and sharing.
- Community: Join forums like Reddit’s r/astrophotography or local clubs for tips and star parties.
Gear Reviews for Astrophotography
Choosing the right equipment is crucial for clear, vibrant night sky images. Below are reviews of beginner-friendly gear, selected for performance and value.
1. Canon EOS 6D Mark II (Camera)
- Overview: A full-frame DSLR praised for low-light performance, ideal for astrophotography.
- Features:
- 26.2MP CMOS sensor, ISO 100–40,000 (expandable to 102,400).
- Vari-angle touchscreen for easy framing.
- The device features built-in GPS and Wi-Fi for location tagging and remote control.
- Weight: 1.69 lbs (765 g), portable with a battery grip option.
- Performance: Captures detailed Milky Way shots and bright deep-sky objects (e.g., the M42 Orion Nebula) with minimal noise at high ISO.
- Pros:
- The camera offers excellent low-light autofocus and high ISO performance.
- Durable for cold nights (~0°C typical for stargazing).
- It is compatible with Canon EF lenses.
- Cons:
- The body only costs approximately $1,400.
- No in-body stabilisation (lens-dependent).
- Price: ~$1,399 (body only, varies by retailer).
- Best For: Serious beginners and intermediates.
2. Tamron 17-28mm f/2.8 Di III RXD (Lens)
- Overview: A quick, wide-angle lens for Sony E-mount mirrorless cameras, perfect for expansive night skies.
- Features:
- Focal length: 17–28 mm, f/2.8 constant aperture.
- Lightweight: 0.93 lbs (420 g).
- The product is weather-sealed for outdoor use.
- Performance: Captures wide Milky Way shots with sharp stars; f/2.8 aperture minimises noise at ISO 3200.
- Pros:
- It offers a wide field of view for landscapes and stars.
- The optics are sharp and there is minimal distortion.
- The lens is affordable, costing approximately $899.
- Cons:
- The product is limited to Sony mirrorless cameras.
- Zoom range narrower than some alternatives.
- Price: ~$899.
- Best For: Wide-angle nightscapes.
3. Sky-Watcher Star Adventurer 2i Pro Pack (Star Tracker)
- Overview: A portable star tracker to counter Earth’s rotation, enabling longer exposures without star trails.
- Features:
- Payload: 11 lbs (5 kg), supports DSLR/mirrorless setups.
- The system allows for Wi-Fi control via a smartphone app.
- The package includes a polar scope and an equatorial wedge.
- Weight: 3.7 lbs (1.7 kg).
- Performance: Allows 30–120-second exposures for sharp stars and deep-sky objects like the Andromeda Galaxy (M31).
- Pros:
- This guide provides easy polar alignment for beginners.
- The compact design is ideal for travel.
- Affordable (~$399).
- Cons:
- The process requires precise alignment and requires a setup time of 10–15 minutes.
- The device operates on either 4 AA or USB batteries.
- Price: ~$399.
- Best For: Beginners upgrading to long-exposure astrophotography.
4. Vanguard Alta Pro 263AB 100 (Tripod)
- Overview: A sturdy aluminium tripod for stable long exposures, recommended by experts.
- Features:
- Max height: 68.2 inches (173 cm); weight: 5.38 lbs (2.44 kg).
- The ball head has a smooth tilt and lockable legs.
- It supports 15.4 lbs (7 kg).
- Performance: Minimises camera shake for 20–30-second exposures; versatile for uneven terrain.
- Pros:
- Robust build, affordable (~$150).
- The model has multi-angle legs for low-angle shots.
- The backpack is lightweight and ideal for hiking to dark sites.
- Cons:
- Bulkier than carbon fibre models.
- Ball heads are less precise than geared heads.
- Price: ~$149.
- Best For: All astrophotographers need stability.
5. ZWO Seestar S50 (Smart Telescope)
- Overview: A compact, app-controlled telescope for automated astrophotography, ideal for urban settings.
- Features:
- The lens is a 50mm apochromatic lens with a 250mm focal length (f/5).
- The device features a 2MP CMOS sensor for imaging and allows for Wi-Fi app control.
- The package includes a tripod, solar filter, and light pollution reduction.
- Weight: 5.5 lbs (2.5 kg).
- Performance: Captures the Moon, planets, and bright nebulae (e.g., M42); stacks images automatically for low-noise results.
- Pros:
- The system is beginner-friendly and requires minimal setup, taking about 5 minutes.
- Affordable (~$399).
- The product is portable for travel.
- Cons:
- Small aperture limits faint deep-sky objects.
- App-dependent functionality.
- Price: ~$399.
- Best For: Beginners wanting automated astrophotography.
Tip: Avoid cheap tripods (<$50) or kit lenses with f/4+ apertures, as they cause shake or require high ISO, increasing noise.
Astrophotography Tips for Beginners
These practical techniques, informed by sources like AstroBackyard and Canon, help capture stunning night sky images.
1. Find a Dark Sky Location
- How: Use lightpollutionmap.info to locate Bortle Scale 3–4 sites (low light pollution), ideally 1–2 hours from cities.
- Why: Reduces sky glow, revealing faint stars and the Milky Way. Urban skies (Bortle 7–9) obscure most objects.
- Example: National parks like Uluru-Kata Tjuta (Australia) are ideal.
- Tip: Check moon phases via PhotoPills ($10.99); shoot during a new moon (e.g., September 21, 2025) for the darkest skies.
2. Master Camera Settings
- Settings:
- Mode: Manual (M) for full control.
- Aperture: Widest possible (f/2.8 or lower) to gather light.
- Shutter Speed: 15–25 seconds (use the 500 Rule: 500 ÷ focal length = max exposure before star trails).
- ISO: 1600–3200 for bright stars with moderate noise.
- Focus: Manual focus using Live View; zoom in on a bright star (e.g., Vega) and adjust until sharp.
- White Balance: 3600–4200K for neutral skies or the Tungsten preset.
- Why: Balances light capture with image clarity; prevents star trails and noise.
- Example: For a 20mm lens, max shutter = 500 ÷ 20 = 25 seconds.
- Tip: Shoot RAW for post-processing flexibility.
3. Use a Sturdy Tripod and Remote Shutter
- How: Mount the camera on a tripod (e.g., Vanguard Alta Pro); use a remote shutter (~$10) or 2-second timer.
- Why: Prevents camera shake during long exposures (10–30 seconds).
- Example: Trigger the shutter remotely to capture sharp Milky Way shots.
- Tip: Weigh down the tripod with a bag for extra stability in wind.
4. Plan with Apps
- How: Use PhotoPills or Stellarium (free) to track Milky Way position, moon phases, and celestial events.
- Why: Ensures optimal timing and composition (e.g., the Milky Way is visible June–September in the Northern Hemisphere).
- Example: Plan a shoot when the Milky Way arches over a landscape at 2 AM.
- Tip: Enable night mode (red screen) to preserve night vision.
5. Experiment with Light Painting
- How: Use a flashlight or LED panel to illuminate foreground elements (e.g., trees, rocks) during exposure.
- Why: Adds depth and context to nightscapes, creating immersive images.
- For a dramatic effect, use light painting on a cliff during a 20-second exposure.
- Tip: Use low-intensity light to avoid overexposure; Practice with test shots.
6. Start with Simple Targets
- Milky Way: Visible in dark skies, best with a wide-angle lens (14–24 mm).
- Moon: Shoot at quarter phase for crater detail; use a telephoto lens (70–200 mm).
- Star Trails: Use 5–10-minute exposures or stack multiple 30-second shots in StarStaX (free).
- Tip: Begin with the Milky Way in summer; it’s bright and easy to frame.
7. Post-Processing Basics
- How: Use Adobe Lightroom ($9.99/month) or free tools like GIMP to adjust exposure, contrast, and noise.
- Why: Enhances star visibility and reduces noise from high ISO.
- Example: Increase clarity (+20) and reduce noise (luminance +30) for sharper stars.
- Tip: Stack multiple images in Sequator (free) to reduce noise for cleaner results.
Advanced Techniques for Enthusiasts
- Star Tracking: Use a tracker like Sky-Watcher Star Adventurer for 1–5-minute exposures, capturing faint nebulae.
- Image Stacking: Take 10–20 shots and stack them in Starry Landscape Stacker ($39.99) to reduce noise.
- Deep-Sky Imaging: Pair a DSLR with a telescope (e.g., Celestron 130 SLT, ~$500) for galaxies and nebulae.
- Tip: Start stacking after mastering single exposures (2–3 years of practice).
Safety and Ethical Considerations
- Safety: Dress warmly for cold nights; use a red flashlight (~$5) to preserve night vision. Avoid tripod collapse on uneven ground.
- Environment: Follow Leave No Trace principles at dark sites; avoid disturbing wildlife.
- Ethics: Share images responsibly; avoid light pollution advocacy that shames urban communities.
- Tip: Use the Clear Outside app (free) to check the weather and avoid storms or clouds.
Challenges and Solutions
- Light Pollution: Urban skies obscure stars. Solution: Travel to dark sites or use light pollution filters (~$50).
- Star Trails: Long exposures blur stars. Solution: Use the 500 Rule or a star tracker.
- Cost: Gear costs $500–$2,000. Solution: Buy used from reputable sellers (e.g., Cloudy Nights) or start with a smartphone.
- Learning Curve: Settings and focus are tricky. Solution: Practice manual focus and take test shots in your backyard.
Resources for Astrophotographers
- Books: The Astrophotography Manual by Chris Woodhouse (~$40).
- Websites: AstroBackyard (www.astrobackyard.com), Space.com (www.space.com).
- Apps: PhotoPills ($10.99), Stellarium (free), and SkySafari ($39.99).
- Courses: Skillshare’s “Intro to Astrophotography” by Gary Cummins (~$15/month).
- Communities: Reddit’s r/astrophotography and Cloudy Nights forums.
Tip: Follow #astrophotography on X for inspiration and gear deals.
The Future of Astrophotography
- Smart Telescopes: Devices like the ZWO Seestar S50 simplify imaging with automation.
- AI Processing: Tools like PixInsight ($230) use AI to enhance images.
- Citizen Science: Contribute to projects like Globe at Night to monitor light pollution.
- Accessibility: Smartphone apps and budget gear lower entry barriers.
Conclusion
Astrophotography is an accessible, rewarding hobby that captures the beauty of the night sky. Cameras like the Canon EOS 6D Mark II, lenses like the Tamron 17-28mm, and tripods like the Vanguard Alta Pro provide affordable, high-quality options for beginners. Master settings (f/2.8, 15–25 s, ISO 3200), plan with apps, and practice in dark skies to create stunning images. Start with simple targets like the Milky Way, join communities, and experiment with post-processing to elevate your skills.