Optics and Photography: Lens Technology and Physics of Light for Photographers
Introduction to Optics and Photography
Photography relies on optics, the study of light and its interactions with lenses, to capture images. By understanding the physics of light—how it bends, focuses, and scatters—photographers can master lens technology to create stunning visuals. This article explains key optics principles like refraction, focal length, and aperture, offering practical insights and examples for photographers to enhance their craft.
The Physics of Light in Photography
Light, an electromagnetic wave, is the foundation of photography. Its properties govern how cameras capture scenes.
Key Properties of Light
- Wave-Particle Duality:
- Light behaves as both waves (with wavelength ~400–700 nm for visible light) and particles (photons).
- Photography Impact: Sensors detect photons; wavelength determines color (e.g., 450 nm = blue).
- Refraction:
- Light bends when passing between mediums (e.g., air to glass) due to changes in speed, governed by Snell’s Law: n_1 \sin \theta_1 = n_2 \sin \theta_2, where n is the refractive index.
- Example: Lenses bend light to focus images on a camera sensor.
- Reflection:
- Light bounces off surfaces, like mirrors or water, at equal angles of incidence and reflection.
- Example: Reflections in portraits add depth (e.g., in eyes or water).
- Dispersion:
- Light splits into colors (spectrum) due to varying wavelengths bending differently.
- Example: Lens chromatic aberration causes color fringing, which is corrected by achromatic lenses.
- Diffraction:
- Light bends around edges, limiting sharpness at small apertures (e.g., f/22).
- Example: Starburst effects in night photos occur due to diffraction at tight apertures.
Why It Matters: Understanding light’s behavior helps photographers control exposure, focus, and color.
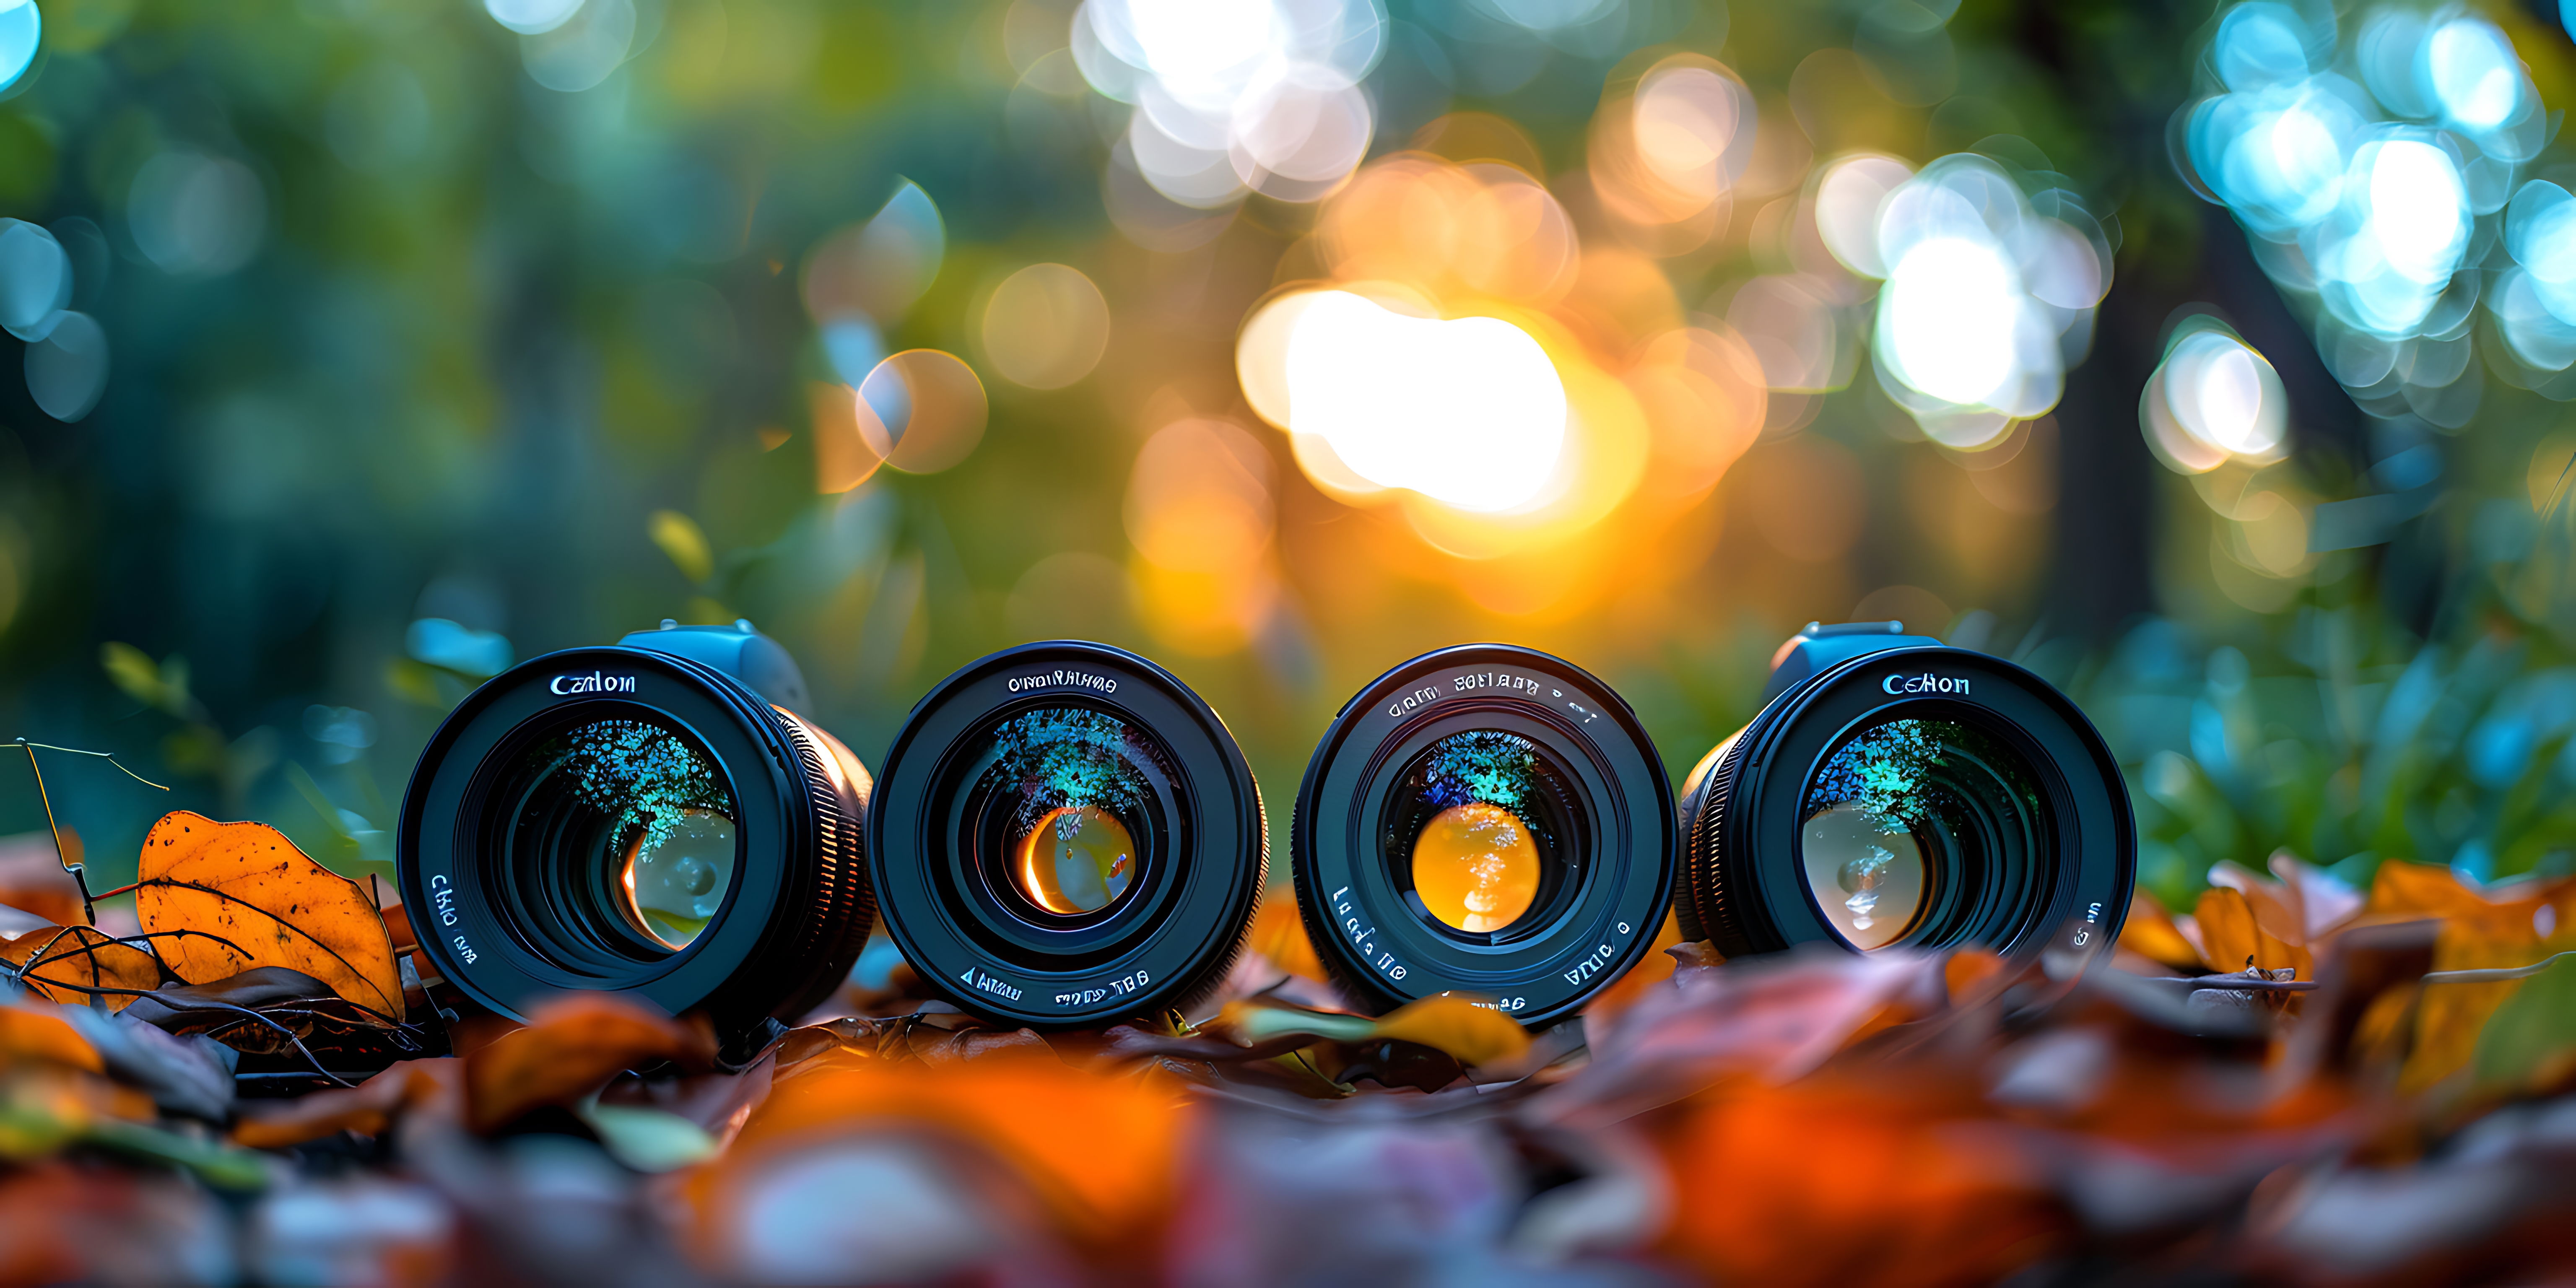
Lens Technology in photography.
Camera lenses manipulate light to form sharp, well-exposed images. Their design relies on optics principles.
1. Focal Length
- What: The distance (in mm) from the lens’s optical center to the sensor when focused at infinity.
- Physics: Determines field of view (FOV) and magnification. Short focal lengths (e.g., 16 mm) yield wide FOV; long ones (e.g., 200 mm) narrow it.
- Types:
- Wide-Angle (14–35 mm): Broad FOV (~60–110°), ideal for landscapes.
- Standard (35–70 mm): Mimics human vision (~40–60°), great for portraits.
- Telephoto (70–300 mm): Narrow FOV (~5–30°), used for wildlife or sports.
- Example: A 50 mm lens on a full-frame camera captures a natural perspective, while a 200 mm lens isolates distant subjects.
- Formula: FOV ≈ ( 2 \arctan \left( \frac{\text{sensor width}}{2f} \right) ), where ( f ) is focal length.
2. Aperture
- What: The lens opening, measured as f-number (e.g., f/2.8), controlling light intake and depth of field (DOF).
- Physics: F-number = ( f / D ), where ( D ) is aperture diameter. Lower f-numbers (e.g., f/1.4) admit more light and create shallow DOF.
- Impact:
- Exposure: f/2.8 lets in 4x more light than f/5.6 (light scales as (1/f^2)).
- DOF: Shallow DOF (f/1.8) blurs backgrounds; deep DOF (f/11) keeps scenes sharp.
- Example: Use f/2 for low-light portraits and f/8 for landscapes with sharp foreground-to-background.
3. Lens Design
- Elements: Lenses use multiple glass elements (4–20) to correct aberrations (e.g., chromatic, spherical).
- Coatings: Anti-reflective coatings reduce lens flare and ghosting, improving contrast.
- Achromatic Lenses: Combine glasses with different refractive indices to minimize color fringing.
- Example: Canon’s EF 50mm f/1.8 STM (~$125) uses 6 elements for sharp, affordable portraits.
4. Autofocus Systems
- Physics: Phase or contrast detection uses light patterns to adjust lens elements via motors.
- Example: Sony’s Eye AF tracks pupils using phase detection, ideal for portraits at f/1.4.
- Impact: Fast autofocus (e.g., 0.02s in Canon R5) ensures sharp action shots.
Practical Applications for Photographers
1. Choosing the Right Lens
- Wide-Angle (e.g., Tamron 17-28mm f/2.8, ~$899): Captures expansive scenes; minimizes distortion with quality glass.
- Prime (e.g., Nikon 50mm f/1.8, ~$200): Sharp, fast for low light; fixed focal length forces creative framing.
- Telephoto (e.g., Sigma 70-200mm f/2.8, ~$1,499): Compresses perspective for sports or wildlife.
- Tip: Rent lenses from LensRentals (~$50/week) to test before buying.
2. Mastering Exposure
- Exposure Triangle: Balance aperture, shutter speed, and ISO.
- Aperture: f/2.8 for bright, shallow DOF; f/11 for deep focus.
- Shutter Speed: 1/1000s for action, 1–30s for low light (e.g., astrophotography).
- ISO: 100–400 for daylight, 800–3200 for night to balance noise.
- Example: For Milky Way shots, use f/2.8, 20s, and ISO 3200 with a 16mm lens.
- Tool: Use a light meter (e.g., Sekonic L-308X, ~$200) or the camera’s histogram.
3. Controlling Depth of Field
- How: Use low f-numbers (f/1.4–f/2.8) for portraits and high f-numbers (f/8–f/16) for landscapes.
- Physics: DOF depends on focal length, aperture, and subject distance ( \text{DOF} \propto \frac{f^2}{N \cdot c} ), where ( N ) is f-number and ( c ) is circle of confusion.
- Example: At f/1.8, 50 mm, 2 m distance, DOF is ~10 cm, blurring the background.
4. Minimizing Aberrations
- Chromatic Aberration: Correct with achromatic lenses or post-processing in Lightroom ($9.99/month).
- Lens Flare: Use lens hoods (~$20) or angle shots to avoid direct light.
- Diffraction: Avoid apertures >f/16 to prevent softening (e.g., f/8 is optimal for sharpness).
DIY Optics Experiments for Photographers
These projects demonstrate optics principles using affordable materials.
1. Pinhole Camera
- Objective: Build a simple camera to explore light projection.
- Materials: Shoebox, aluminum foil (~$2), black tape (~$3), photographic paper (~$10).
- Steps:
- Cut a small hole in a shoebox; cover with foil pierced by a 0.5 mm pinhole.
- Tape photographic paper inside, opposite the pinhole.
- Seal the box to block light; expose it to sunlight (10–30 s).
- Develop paper in a darkroom or scan for digital inversion.
- Physics: Light travels in straight lines, projecting an inverted image through the pinhole.
- Safety: Handle photographic chemicals with gloves; work in a dark, ventilated area.
- Source: Adapted from Exploratorium.
2. Refraction Demonstration
- Objective: Visualize light bending through a lens.
- Materials: Glass of water, laser pointer (~$5), white paper.
- Steps:
- Shine a laser through a water-filled glass onto paper.
- Observe the beam bending (refracting) as it enters/exits the glass.
- Vary angles to see Snell’s Law in action.
- Physics: Shows how lenses focus light by refraction.
- Safety: Use low-power lasers; avoid eye exposure.
- Source: Science Buddies.
3. Lens Focal Length Test
- Objective: Measure a lens’s focal length.
- Materials: Smartphone camera or cheap lens (~$10), ruler, light source (e.g., window).
- Steps:
- Point the lens at a distant object (e.g., tree) through a window.
- Project the image onto paper; measure the distance from lens to paper (focal length).
- Physics: Demonstrates how lenses converge light to a focal point.
- Safety: Avoid direct sunlight to prevent eye damage.
- Source: Physics Classroom.
Tools for Optics and Photography
- Lenses: Budget options like the Canon EF 50mm f/1.8 (~$125) or Nikon 35mm f/1.8 (~$200).
- Tripod: Vanguard Alta Pro (~$149) for stable long exposures.
- Light Meter: Sekonic L-308X (~$200) for precise exposure.
- Software: Lightroom ($9.99/month) or GIMP (free) for post-processing.
- Filters: UV (~$15) for lens protection, ND (~$20) for long exposures.
Tip: Buy used lenses from MPB.com or KEH.com to save 20–40%.
Safety and Ethical Considerations
- Safety: Avoid pointing cameras at the sun without solar filters (~$30) to prevent sensor damage.
- Ethics: Respect privacy when photographing people; obtain consent for portraits.
- Environment: Dispose of photographic chemicals properly to avoid pollution.
- Tip: Follow local regulations for drone photography if using lens-equipped drones.
Challenges and Solutions
- Cost: Lenses cost $100–$2,000. Solution: Start with a prime lens or rent.
- Complexity: Optics math (e.g., Snell’s Law) is daunting. Solution: Focus on practical settings and apps like PhotoPills ($10.99).
- Aberrations: Low-quality lenses distort images. Solution: Invest in mid-range lenses or correct in post-processing.
- Low Light: Night shots require high ISO, increasing noise. Solution: Use fast lenses (f/1.8) and tripods.
Resources for Photographers
- Books: Understanding Exposure by Bryan Peterson (~$25).
- Websites: Digital Photography School (www.digitalphotographyschool.com), Physics Classroom (www.physicsclassroom.com).
- Apps: PhotoPills ($10.99) for planning, LensBuddy (free) for focus simulation.
- Courses: Udemy’s “Photography Masterclass” (~$20).
- Communities: Reddit’s r/photography, Fstoppers forums.
Tip: Follow #PhotographyTips on X for gear deals and tutorials.
The Future of Optics in Photography
- Computational Photography: AI enhances images (e.g., Google Pixel’s Night Sight).
- Metamaterials: Lenses with negative refractive indices may shrink camera size.
- Autofocus: Machine learning improves tracking (e.g., Canon R3’s 0.01s focus).
- AR Lenses: Augmented reality glasses may integrate optics for real-time overlays.
Conclusion
Optics and photography intertwine through the physics of light—refraction, reflection, and diffraction—shaping how lenses capture images. By mastering focal length, aperture, and exposure, photographers can elevate their craft. DIY experiments like pinhole cameras make optics tangible, while tools like Lightroom refine results. Start with affordable gear, explore resources like Digital Photography School, and experiment to harness light’s power in your photography.